SSH #
What is SSH? #
SSH (Secure Shell) is a cryptographic network protocol used for secure communication between a local machine and a remote server. SSH provides strong encryption and authentication methods, protecting the data being transmitted and ensuring that only authorized users can access the remote server. It is widely used for remote administration, file transfers, and executing commands on remote systems.
What are SSH keys? #
SSH keys are a pair of cryptographic keys used for authentication between a client and a server. They consist of a private key and a public key. The private key is kept secret and stored on the client machine, while the public key is shared with the remote server. When connecting, the client uses the private key to prove its identity to the server, which verifies the authenticity of the key using the public key. This key-based authentication is more secure and convenient than using passwords, as it eliminates the risk of brute-force attacks and reduces the chances of unauthorized access.
Access your EC2 instance #
- Once your instance is running, go back to the EC2 Dashboard and click on “Instances” in the left sidebar.
- Select your instance and note the “Public IPv4 DNS” in the “Description” tab below. You’ll use this address to connect to your instance.
- Open an SSH terminal on your local machine.
- Connect to your instance using the following command:
ssh -i /path/to/your/keypair.pem ec2-user@instance-public-ipv4-dns
Replace /path/to/your/keypair.pem with the path to your key pair file and instance-public-ipv4-dns with the public IP address or DNS of your instance.
- You’ll be prompted to confirm the connection. Type “yes” and hit Enter.
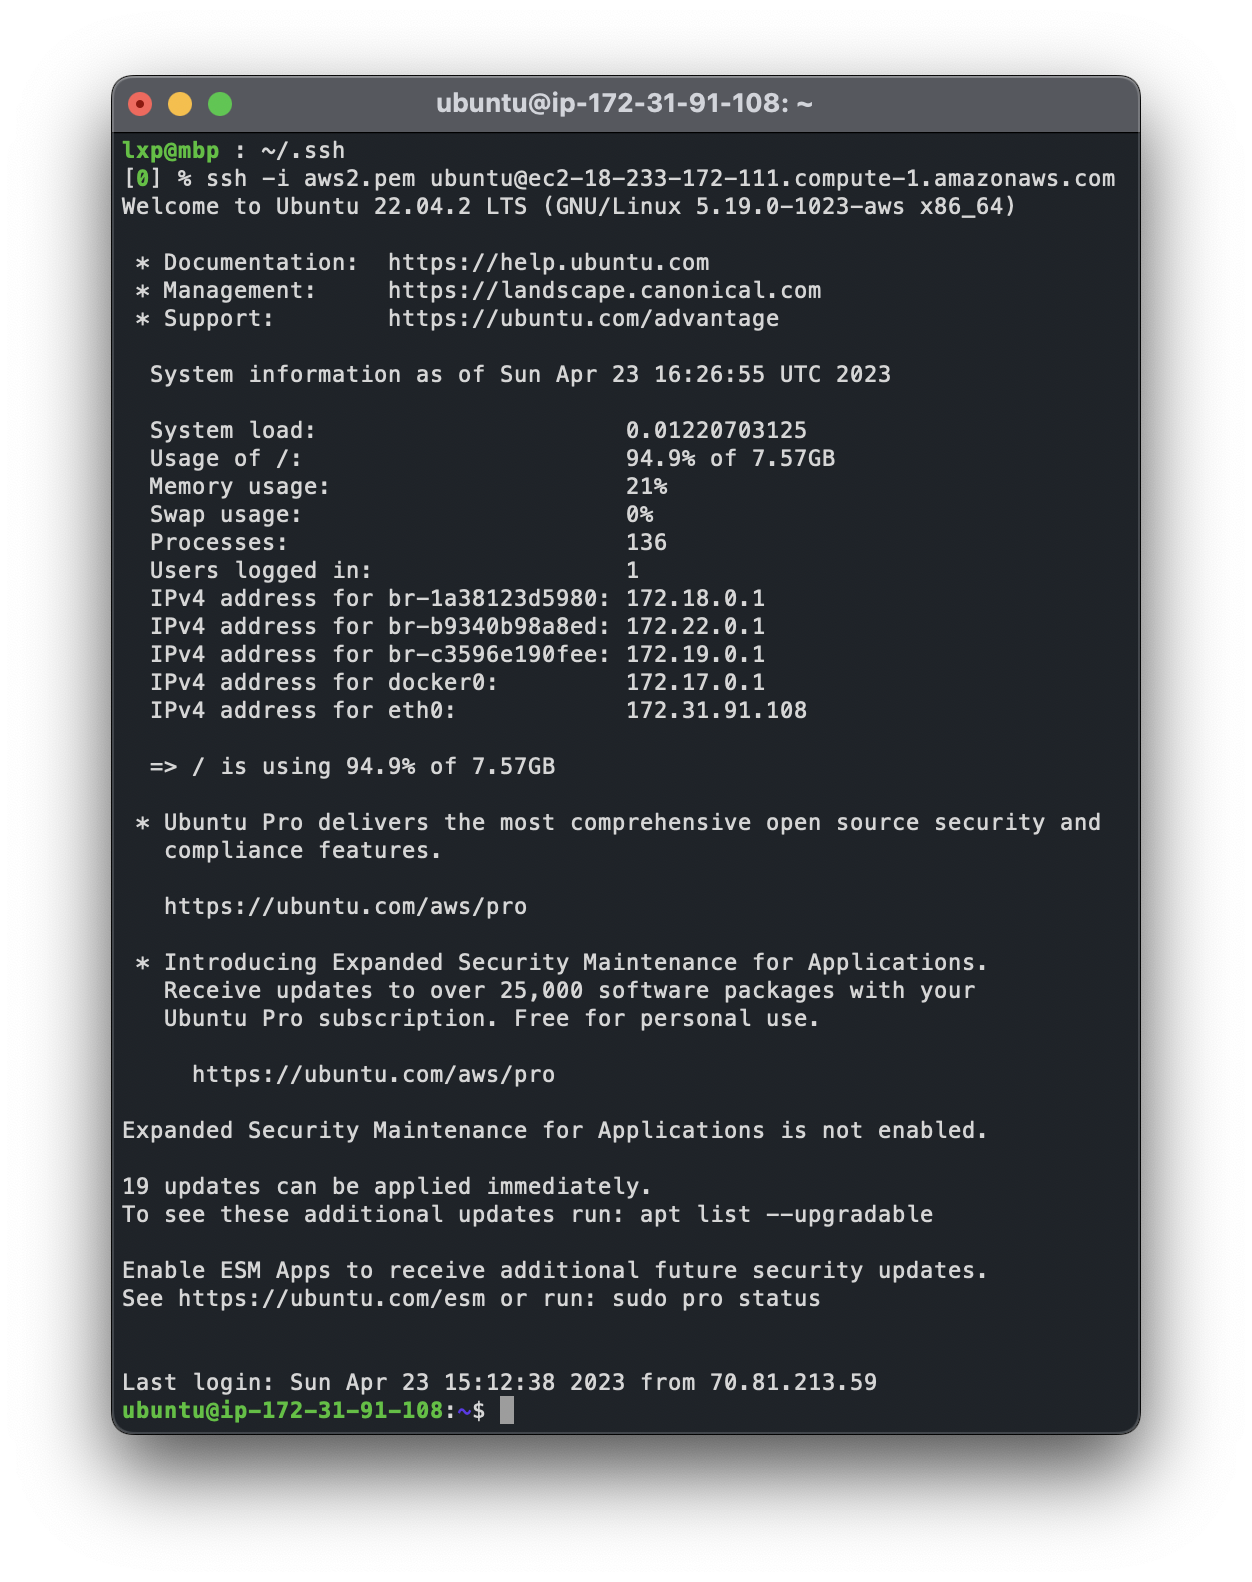
You should now be connected to your EC2 instance and see a command prompt for the remote server. You can now start using your instance and installing any necessary software.
Remember to stop or terminate your instance when you’re not using it to avoid incurring unnecessary charges. To do this, go to the EC2 Dashboard, select your instance, and click on the “Actions” button. Choose “Instance State” and then “Stop” or “Terminate” as needed.